
- Education
- Estimated reading time:2 min read
How to connect your domain to a Stoify store
- By Stoify
Connect an existing domain to Stoify: choose your primary hostname, add the displayed DNS records, verify HTTPS, and keep your Stoify address available.
Share this page
You need a domain you control, access to its DNS settings, and a store on Pro, Business, or Enterprise. Domain registration and renewal remain with your provider.
1. Choose the address shoppers should see
Open Settings → Domains as the store owner. Enter your preferred hostname,
such as example.com, www.example.com, or shop.example.com.
The address you enter becomes the primary hostname after verification. For an apex or www address, Stoify also prepares its counterpart as a redirect. A standalone subdomain connects on its own.
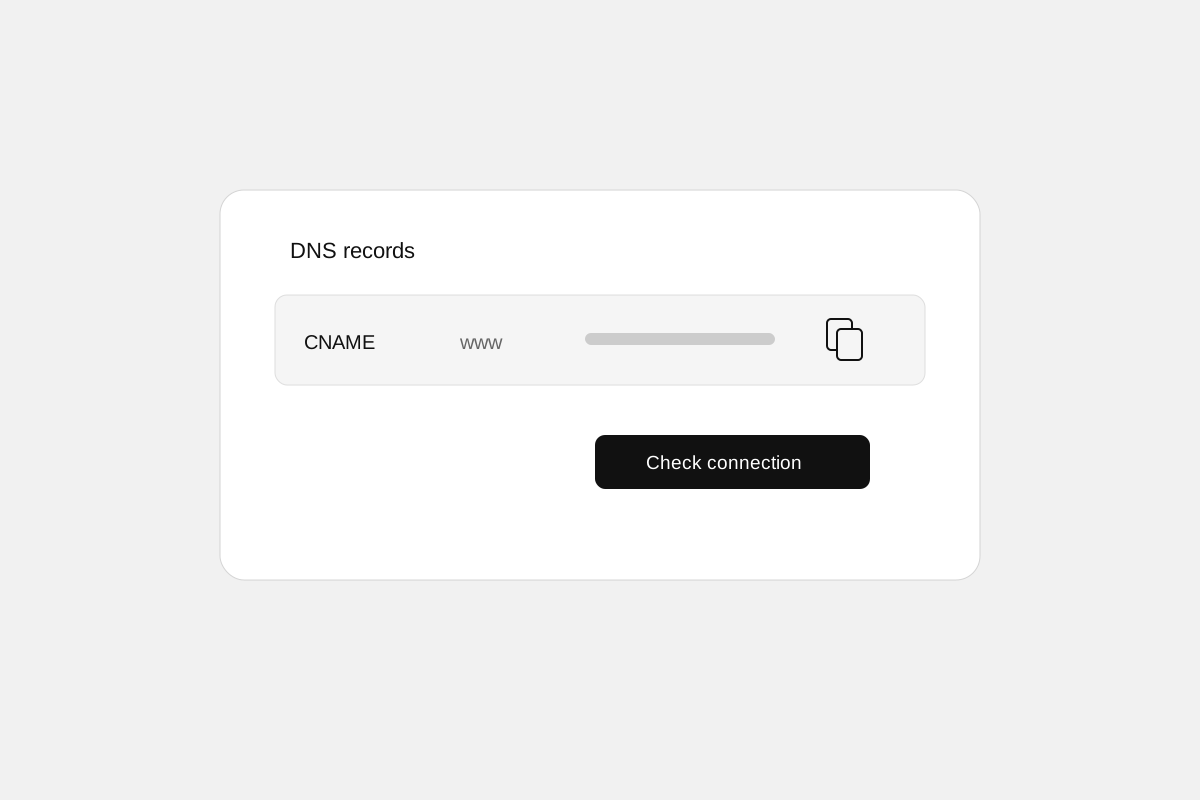
2. Copy the displayed DNS records
Add the ownership TXT record and the routing records shown for your domain at your DNS provider. Use the current values in the dashboard. DNS interfaces vary: some expect the full record name, while others append your domain automatically.
Keep the ownership record in place. Preserve existing MX records and email verification records. Connecting a storefront does not configure a custom email sender or require moving your email service.
The store owner also receives a DNS setup email once the routing records are ready. Stoify administrators receive a private copy. If an email is older than the dashboard instructions, use the current dashboard values.
3. Check the connection
Select Check connection after saving your DNS changes. Stoify checks ownership, DNS routing, and HTTPS before activating the domain. Changes can take up to 48 hours to propagate. You can close the page while automatic checks continue.
If a record is still pending, compare its name and value with your provider’s settings. Return to the page to see the latest result and trigger another check. If you use a DNS proxy, use DNS-only routing while establishing the connection.
4. Open your storefront
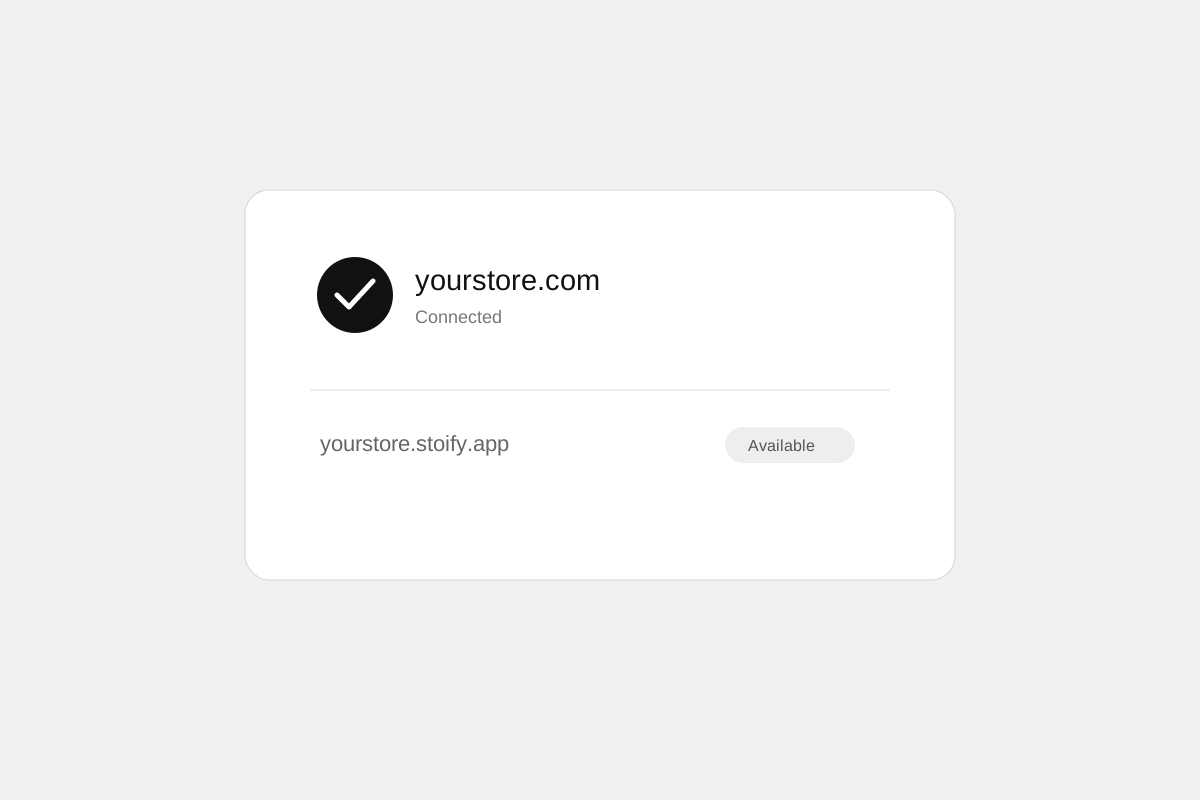
Once connected, open a product, add it to your cart, and check the customer journey. If Stripe is connected, the Domains page also shows payment-domain registration status. Your Stoify address stays available, and the connected domain is used for generated links and SEO.
Stoify emails the owner when the domain connects or disconnects, including when plan access ends. Repeated checks do not send repeated status emails.
Replacing or removing a domain
Use Replace domain to prepare a new address while keeping the current one active. Disable returns generated links to the Stoify address; Remove also queues disconnection from hosting. After removal, update your provider’s routing records. If your paid entitlement ends, Stoify immediately becomes the default address again.
See custom domain capabilities, the launch announcement, and pricing.
Continue exploring
Related Stoify articles and feature pages connected to this topic.
Your store address
Custom domains for your storefront
Connect a domain you own to your Stoify storefront, follow clear DNS instructions, and check connection status from your dashboard. Included on Pro and above.
- News
Introducing custom domains for Stoify storefronts
Give your store its own address with custom domains on Stoify Pro and above, dashboard DNS instructions, connection checks, and a working Stoify fallback.